
Final Fairing with WEST SYSTEM Epoxy
Epoxy Basics: Fairing with Epoxy and Filler
How to fill
How to use Marine Epoxy Filler Easy Fair Trowelable & Spreadable from Reactive Resins

Filler powder
Guide to filling & fairing
What is the issue?
Most craft of whatever size or construction material, be it composite, wood, ferrocement and metal surfaces, require filling and fairing compounds at some time either in their life or in their development and design. To achieve the best quality finish can present a challenge.
Why address this?
Filling and fairing is a very labour intensive operation but an essential one necessary to ensure that the hull offers the least resistance to movement through the water. Nowhere is efficient filling and fairing more important than on underwater appendages - the keel and rudder, where not only sectional shape can be controlled by application of filler, but surface finish, fairness and smoothness can be perfected for noticeable performance gains.
This discussion outlines the standard procedures and reviews the principal products that are necessary to achieve the best quality finish on wood, composite, ferrocement and metal surfaces. This guide covers the range of products which are available from SP Systems used in filling and fairing procedures and outlines the standard procedures which are necessary in order to achieve the
best quality finish on wood, composite, ferrocement and metal surfaces.
How to address this?

REVIEW of PRINCIPAL PRODUCTS REQUIRED
Resin System
A resin system of some type, usually epoxy or polyester, forms the basis of every filler, together with a mixture of inert filler ingredients. Through the action of a catalyst, in the case of polyester, the resin is caused to polymerize to a hard plastic. With epoxy-based products, the resin reacts with a specialised hardener and together they ‘crosslink’ and polymerise to form an outwardly similar looking hard plastic material.
For marine use especially, epoxy resin based fillers are far superior to those based on polyester resin as they are inherently more water-resistant, shrink less during curing, are more adhesive and have a higher degree of toughness and strength. Although epoxy-based fillers cost more they are the only type recommended for boat hulls.

Although the epoxy resin and hardener can be supplied with filler additions pre-mixed into one or both components as a ‘formulated’ filler, most professional users working on a large scale prefer to create their own mix by using a liquid epoxy resin system and low-density filler ‘powders’. This gives the user considerably more control over the application and working properties over a wide range of working conditions. The user can vary the quantity of filler added to create ‘thick’ or ‘thin’ mixes. The resin system will have a number (usually at least 2) of different hardeners, each of which will offer different levels of reactivity when mixed with the resin component. This approach is referred to as the "recipe" method.
Filler Ingredients
Whereas the resin system will control the working characteristics, mechanical and chemical properties of a filler, the filler ingredients will dictate how easy the filler will be to apply and finally sand down to provide a fair smooth finish.
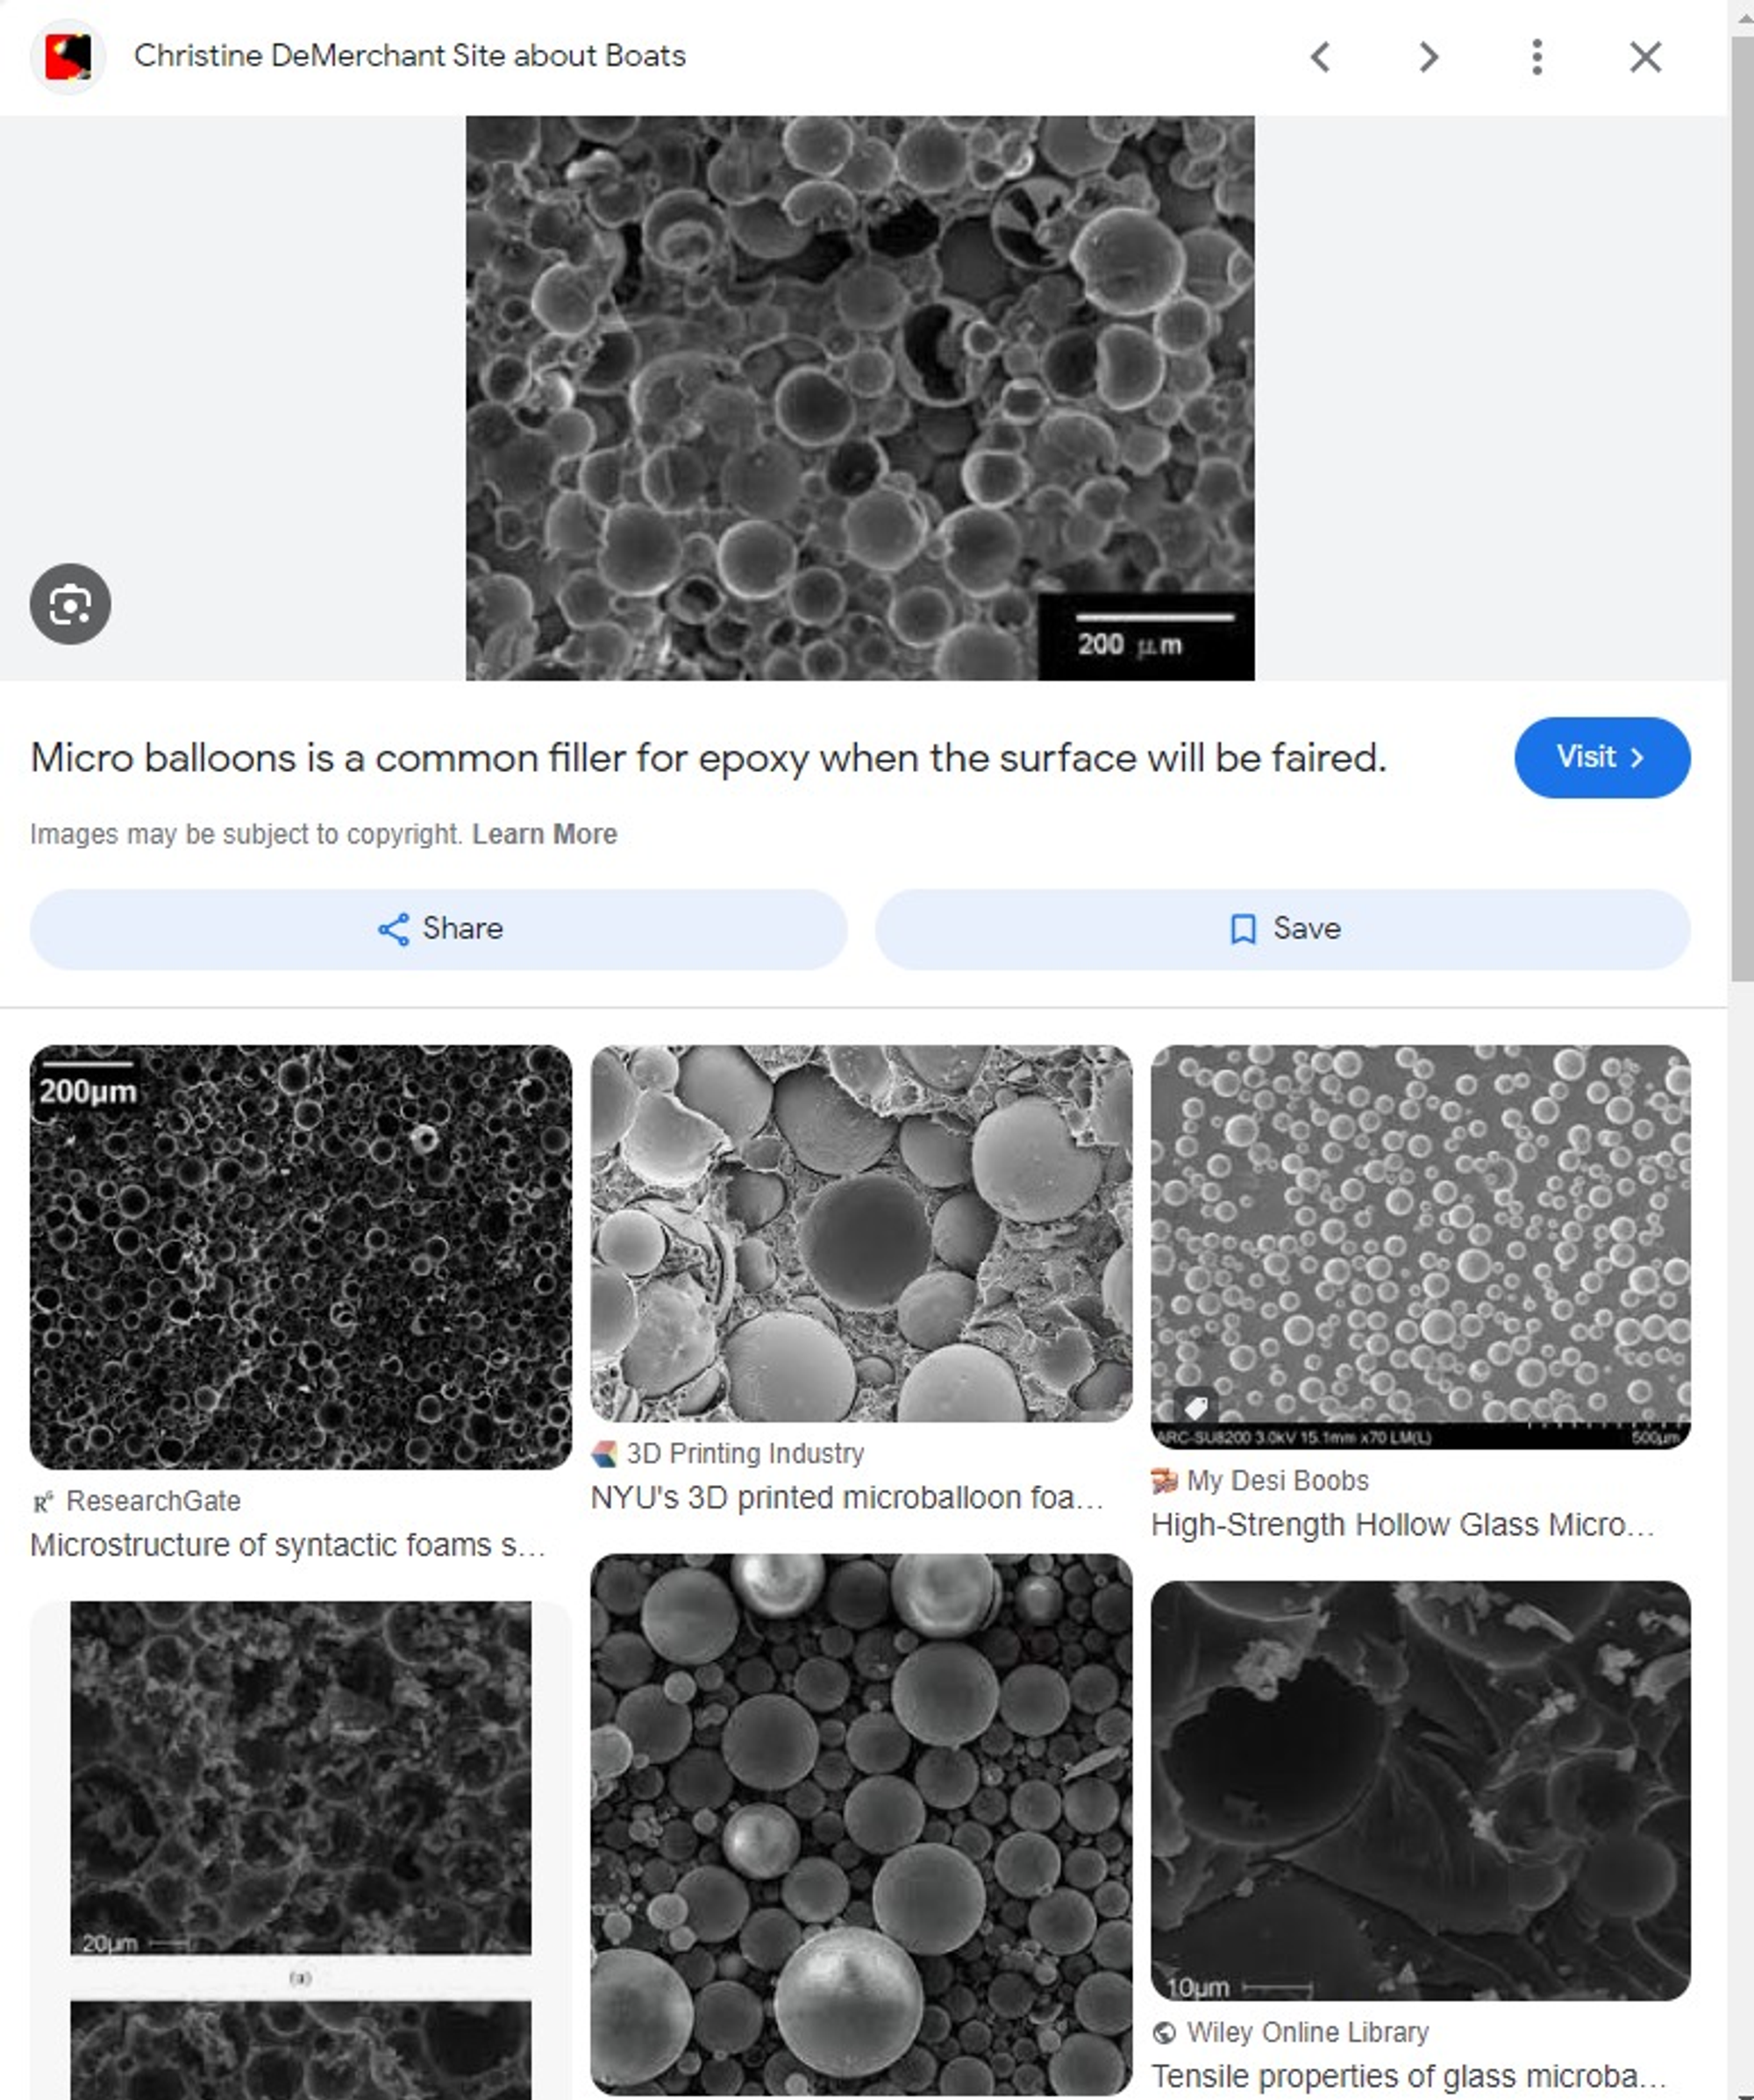
The ‘hollow sphere’ type of filler is the only type which will create a filler mix with the two desirable characteristics of being both lightweight and relatively easy to sand. This type of filler can also be used for structural adhesive purposes, especially for low density fillet bonding. However, the glue mix created is relatively weak and therefore it should be restricted to certain types of wood bonding.
Hollow spheres are often described as “microspheres” and are very effective at reducing the density of the mix by displacing resin. As the microspheres have a hard, resin resistant ‘shell’ the resin does not penetrate the ‘interior’ of the bubble. Although the user is free to add whatever filler proportion serves his particular needs, there is a maximum practical additive level for each type of filler powder. There must always be sufficient resin present to coat each microsphere and bond one microsphere to the next, effectively creating a type of ‘foam’. The greater the proportion of the filler ingredient added, the lower the density of the filler mix will become. If too much filler powder is added to the resin (beyond the point where all microspheres are effectively coated), the mix will become ‘dry’ and ‘pasty’, and difficult to work. It also may not bond well to the surface to which it is being applied.
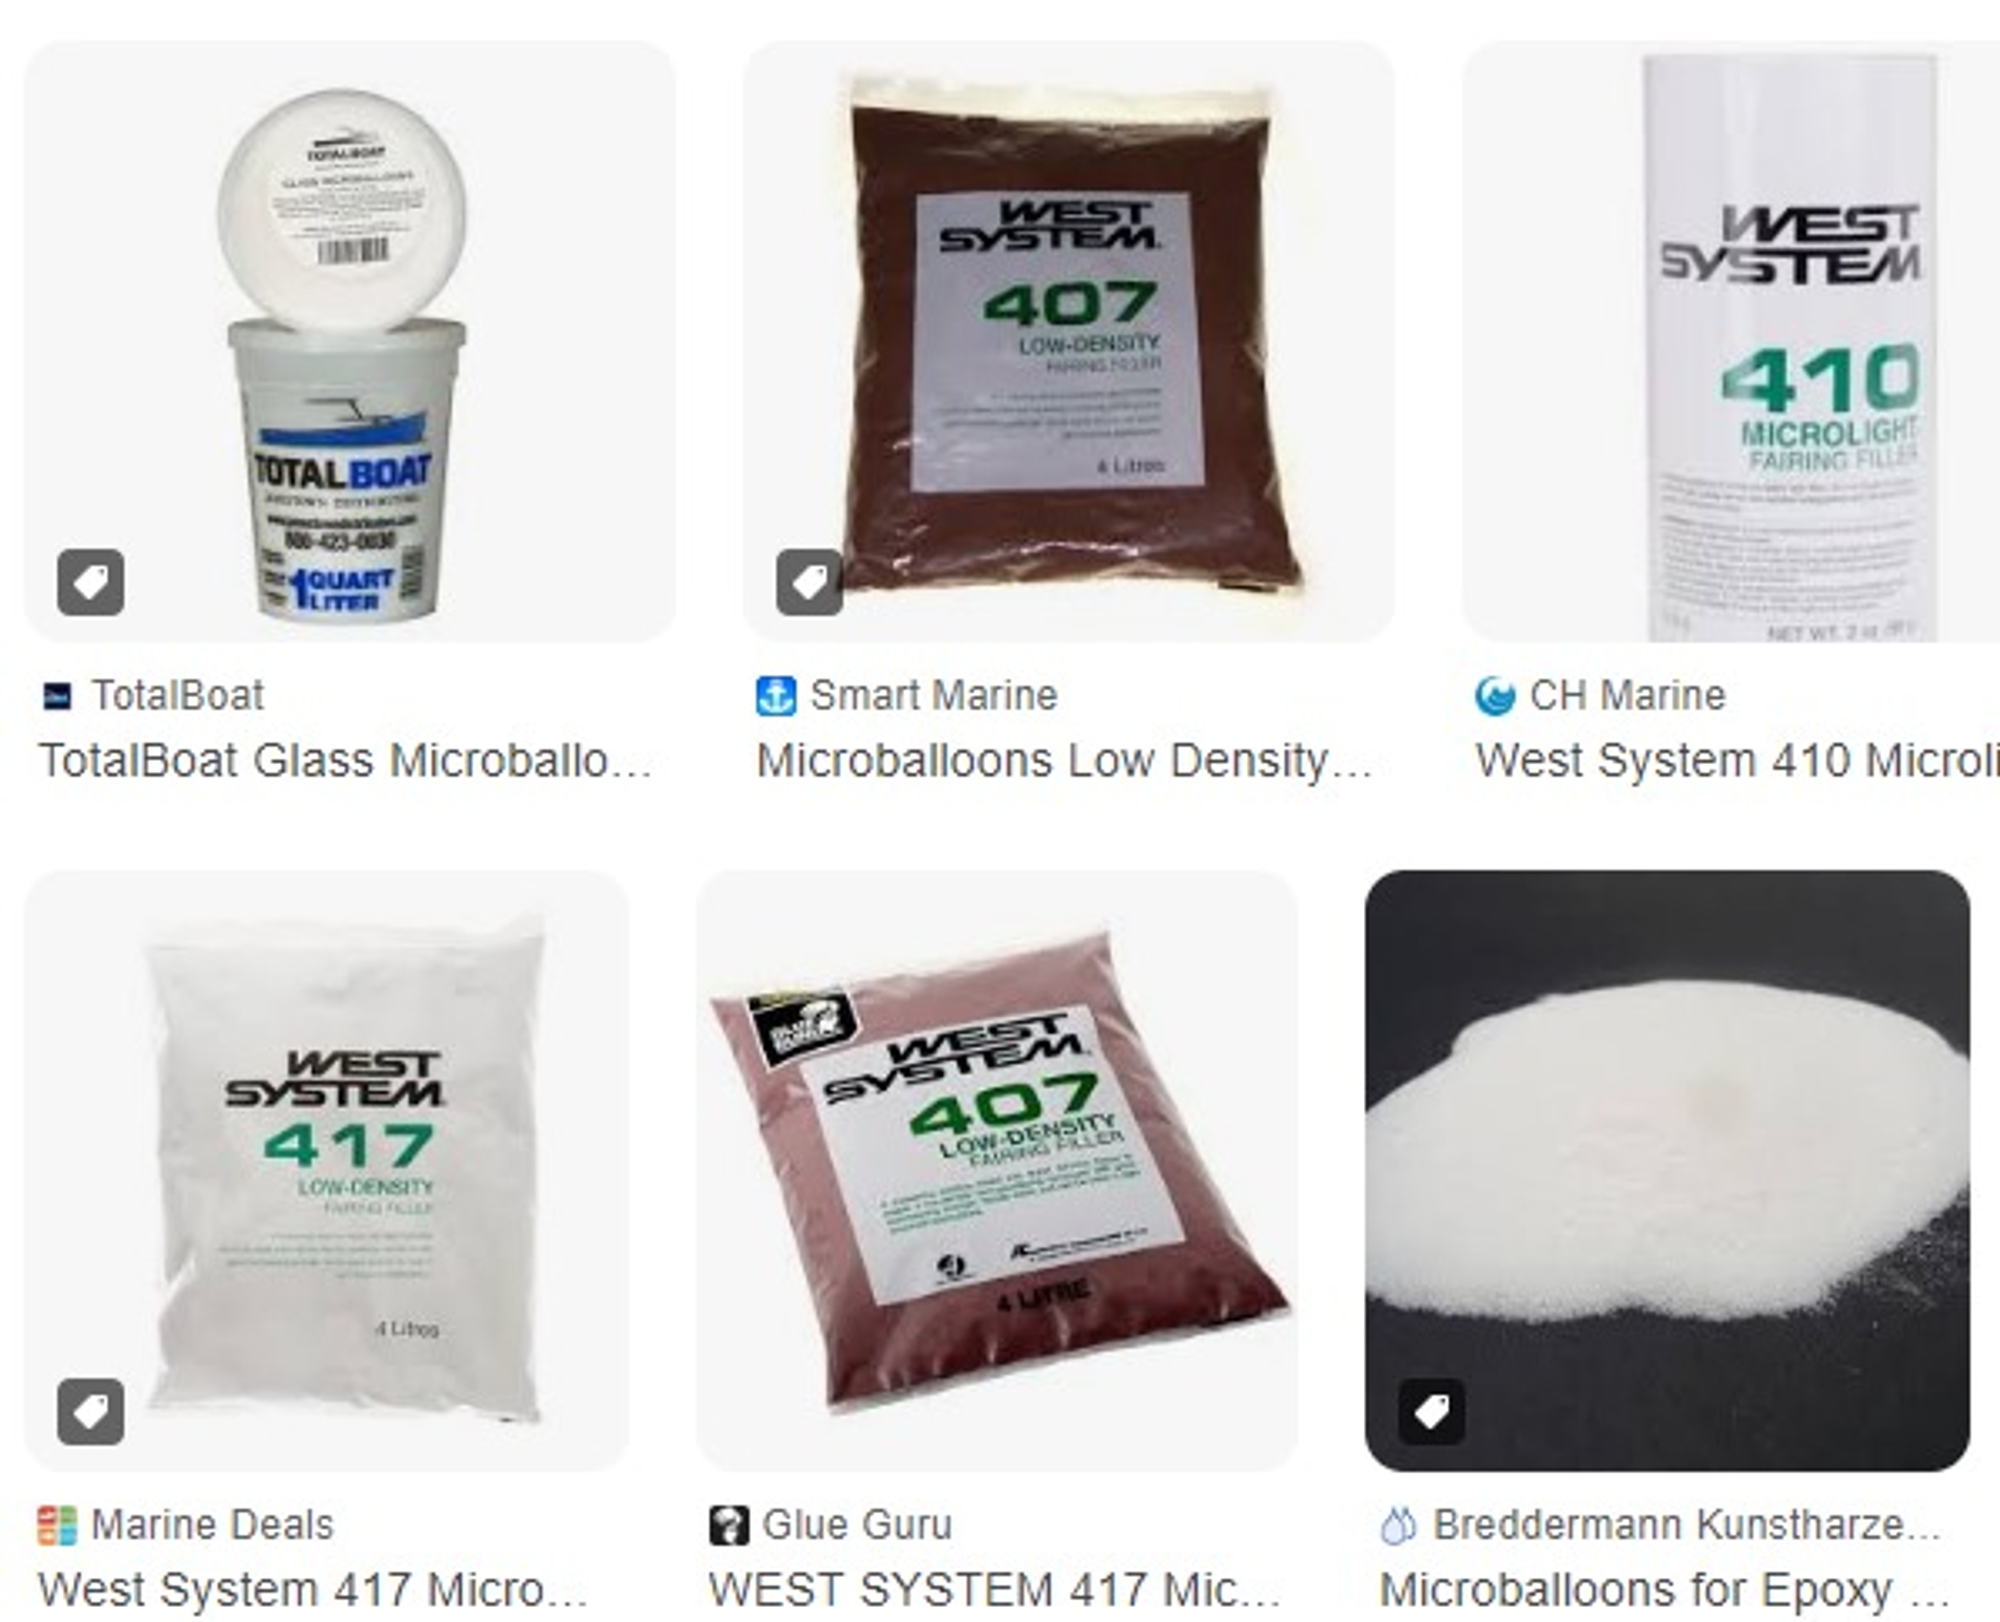
The two principal types of hollow bubble filler are phenolic microballoons and glass bubbles. Figure 1.1 & 1.2 outline their principal physical properties and compare the characteristics of the filler mixes created.

PREPARATION GUIDELINE for FILLING on DIFFERENT SUBSTRATES
Wood
Wood is an absorbent material and therefore the best possible adhesion is obtained by first pre-coating with an unfilled solvent free epoxy resin and hardener mix. The filler mix can then be applied either after first leaving the surface to cure and then sanding to obtain a good key, or whilst the initial unfilled epoxy coating is still wet or tacky. Deep indentations or screw holes may be filled without pre-coating.
Polyester GRP
- a) Fibrous Laminate Surface without Gel CoatPre-coat with clear, unfilled solvent-free epoxy resin mix first and treat as for bare wood. Polyester grp should be well cured otherwise the epoxy cure will be inhibited and there will be poor adhesion to the surface.
- b) Polyester Gelcoat SurfaceWet sand with 150 - 180 grit paper then solvent wipe with a fast evaporating epoxy solvent to obtain a good key. The polyester should be well-cured.
Polyester Filler or Epoxy Filler
A previously filled surface should be well abraded with 40 - 80 grit production paper and wiped with fast evaporating solvent before commencing any further filling. The polyester should be well-cured if epoxy filler is to be used.
Epoxy FRP
This may or may not have used nylon peel ply incorporated into the last laminate layer. If it had, then tear away the peel ply and simply apply the filler. If no peel ply was used then sand the surface thoroughly with 80 grit production paper and clean with a fast evaporating solvent such as clean acetone.
Metal
- a) Sand-blastedFor the best possible adhesion, first wipe with solvent then pre-coat with a thin unfilled solvent-free epoxy resin mix. Then apply filler mix whilst this coating is still tacky.
- b) PrimedMetal primers should ideally be epoxy based and be well sanded, followed by a wipe with fast evaporating solvent to give the epoxy filler a good key.
Ferro-Cement
First check that no metal reinforcement is standing level or proud of the surface. Clean off laitance and preferably wash with dilute hydrochloric acid. Brush off and dry, then treat surface as for bare wood.
COMBINATION QUANTITIES OF RESIN AND FILTER INGREDIENTS
Where the ‘recipe’ method of creating an epoxy filler mix has been selected, the following information contains guidelines for making the mix to a fairing consistency. The relative quantities suggested may be varied by the user to create thinner, thicker or more thixotropic mixes to suit individual application needs.
Mixes of lower density can be created for other applications e.g. to create a low density ‘syntactic’ foam for filling rather than fairing purposes. Here the mix may have a higher filler loading to allow application by trowel in specific areas. As a specific example a Microballoon mix for this purpose can be made with a density of 0.5 g/cc rather than one nearer 0.6 g/cc used for fairing. Fairing mixes are required to be more mobile because of the greater area to be covered and to suit the tools and application equipment used.

Note the inclusion of colloidal silica to the mix in every case. Although added in relatively small volume compared to the primary filler ingredient, colloidal silica serves the very useful function of giving additional non-sag properties to the mix. This is a particularly desirable for vertical or sloping surfaces where some ‘sagging’ in a filler mix may be expected whilst the filler is still in a workable state before sufficient hardening has taken place.
One litre of filler, if spread evenly, will produce an average 1mm thickness over an area of 1m2. Generally, for filling and fairing on rough surfaces, sufficient quantities of resin system and fillers should be ordered to allow for an average thickness of 2mm (2 litres of filler mix per sq.m). This will allow for uneven surfaces and losses through sanding.
Ordering Resin System and Fillers

The following information will be useful when ordering suitable epoxy resin system and filler ingredients to create fairing mixes using Microballoons. The quantities indicated in figure 2 will produce a low-density filler mix sufficient to cover the area shown to an average thickness of 1.0mm.
Measuring out Epoxy Resin and Hardener by Weight
The weight method of measuring relative amounts of epoxy resin and hardener is the most accurate method of combining the components in exactly the right ratio. Volume methods using graduated cups may be sufficiently accurate for epoxy systems with simple mix ratios such as 2:1 or 3:1 resin-to-hardener ratios.

Measuring by weight is easily achieved using simple, inexpensive electronic scales. Those of either 2 kg or 5 kg capacity which has an accuracy of + 2% are most suitable.
USING EPOXY FILLER in FAIRING PROCEDURES
This section is divided into:
- a) Overall FairingThe removal of high spots in order to create a fair shape which blends perfectly into the overall shape.
- b) Localized FairingMaking small areas such as fastening holes or local voids smooth to the touch and undetectable.
Preparing the Mix
Select an appropriate epoxy resin system and hardener speed to suit the application. Measure out sufficient quantities of materials to make a suitable quantity of filler which can be spread over the work area and made smooth well within the working time that the hardener will allow. Ideally, start with small volumes until some idea of working time is gained. In order to prevent early gelling of the resin and hardener before the application is finished, reduce mix volumes if ambient temperature levels rise or a faster hardener is used.
Mix components thoroughly. Always mix resin and hardener thoroughly first before adding filler ingredients. Choose a suitable vessel such as a smooth-sided plastic tub in which to mix the filler. Once mixed, transfer the filler mix to a board and spread thinly (maybe up to 10 mm thick) to help dissipate the heat of the resin/ hardener chemical reaction and so lengthen the working time of the mix.
Application
a) Overall Fairing
Using a plasterers ‘hawk’ to hold a suitable volume of filler, transfer a manageable amount to the surface using a flexible metal applicator and apply in thin layers to avoid air pockets. For fairing large areas of 3-5m2 at a time on boat hulls use a plastic fairing batten (a length of plastic drain pipe is sometimes used) held by two people. Aim at a slight overfill. Apply no more than 3-4 mm at a time.
On very unfair hulls the ‘notched applicator’ technique is useful whereby the initial filler application is by a batten with a ‘notched’ or serrated edge, which gives a furrowed surface to the filler. Once hardened the surface is sanded using long sanding boards which will take off the tops of the ‘ridges’ on the high areas and leave them intact on the low areas of the surface. This technique ensures that the minimum of filler is used and sanding time is shortened because only 50% of the normal filler quantity is removed with every sanding stroke.
Once fair the hollow areas and ‘furrows’ are filled level to the original epoxy surface, it is useful to use a slightly colour-tinted mix for the second filler application to differentiate it from the first when subsequently sanding.
b) Localized Fairing
Apply the filler with a spatula or metal straight edge. A higher loading of primary filler is often used together with colloidal silica, to create a stiffer filler mix for this type of filling.
Curing
All epoxy filler mixes will sand most easily when fully cured because a fully-cured polymerised epoxy will not soften as a result of the heat-generating abrasive action.
Since most filler mixes are sanded before being fully cured, a coarser grade of paper will be necessary in order to avoid ‘clogging’. Warm conditions with, ideally, low humidity help the epoxy components to cure most effectively.
WORKING WITH CURED EPOXY FILLER PRELIMINARY FAIRING
The aim of fairing is to remove excess filler in a controlled manner in order to ensure a visually ‘perfect’ surface. A variety of tools and cutting edges may be used in the initial stages to remove the worst lumps of filler to create a surface on which abrasive paper will be most effective. Figure 3 outlines some of the tools which may be used.

Using Abrasive Papers in Fairing and Finishing
Two basic types of abrasive paper are usually used. For coarser sanding the paper used is aluminium oxide ‘production’ paper obtained by the metre from a roll. This can be cut to convenient length to use on boards or mechanical sanders. The other type is wet or dry silicon carbide paper which can be used either wet (with water as the ‘lubricant’), or dry and is always used for final finishing of coatings. The abrasive paper is usually cut and used on a rubber palm-held sanding pad. Figure 4 is a guide to the abrasive grades used at the different stages of fairing.

The lower the ‘grade’ number the larger the grit particle and the lowest density of cutting particles.

FINE FAIRING AND FINISHING
Once the main fairing has been completed, leaving a sanded, fair, smooth surface, the next stage is to use a type of coating system which is characterised by its high loading of fine filler ingredients. These high build, undercoat/surfacer type of products are more common in the automotive industry but are becoming increasingly used as part of the fairing process in the marine industry.
SP Hibuild 302 has the ideal characteristics for application over sanded filler to serve as an intermediate stage before the finishing coats of a paint system. Although solvent based, Hibuild 302 has a very high solids content, consisting of resin solids and easily sanded fillers. This serves to both minimize shrinkage on cure and fill the sanding marks and other imperfections such as small air pockets on the filler surface, which normal undercoats cannot mask. Quick-drying characteristics lead to rapid overcoating and early sanding. Additional fillers may also be added to increase the
solids content and facilitate easy sanding if required.
Hibuild 302 may be applied by brush, roller or conventional spray and is available in both white and light grey. It is common when fairing yacht hulls to use both colours alternately in order to identify
high and low spots.
Hibuild 302 is usually sanded dry, at least initially, then overcoated with a paint undercoat, usually a two-pack polyurethane. This product is best sanded wet with fine abrasive to leave a surface which is sufficiently well prepared to take a gloss paint finish.
With thanks to:
With thanks to Martin Armstrong, Structural Polymer Systems Ltd. e-mail: info@spsystems.com or
Suppliers in Singapore
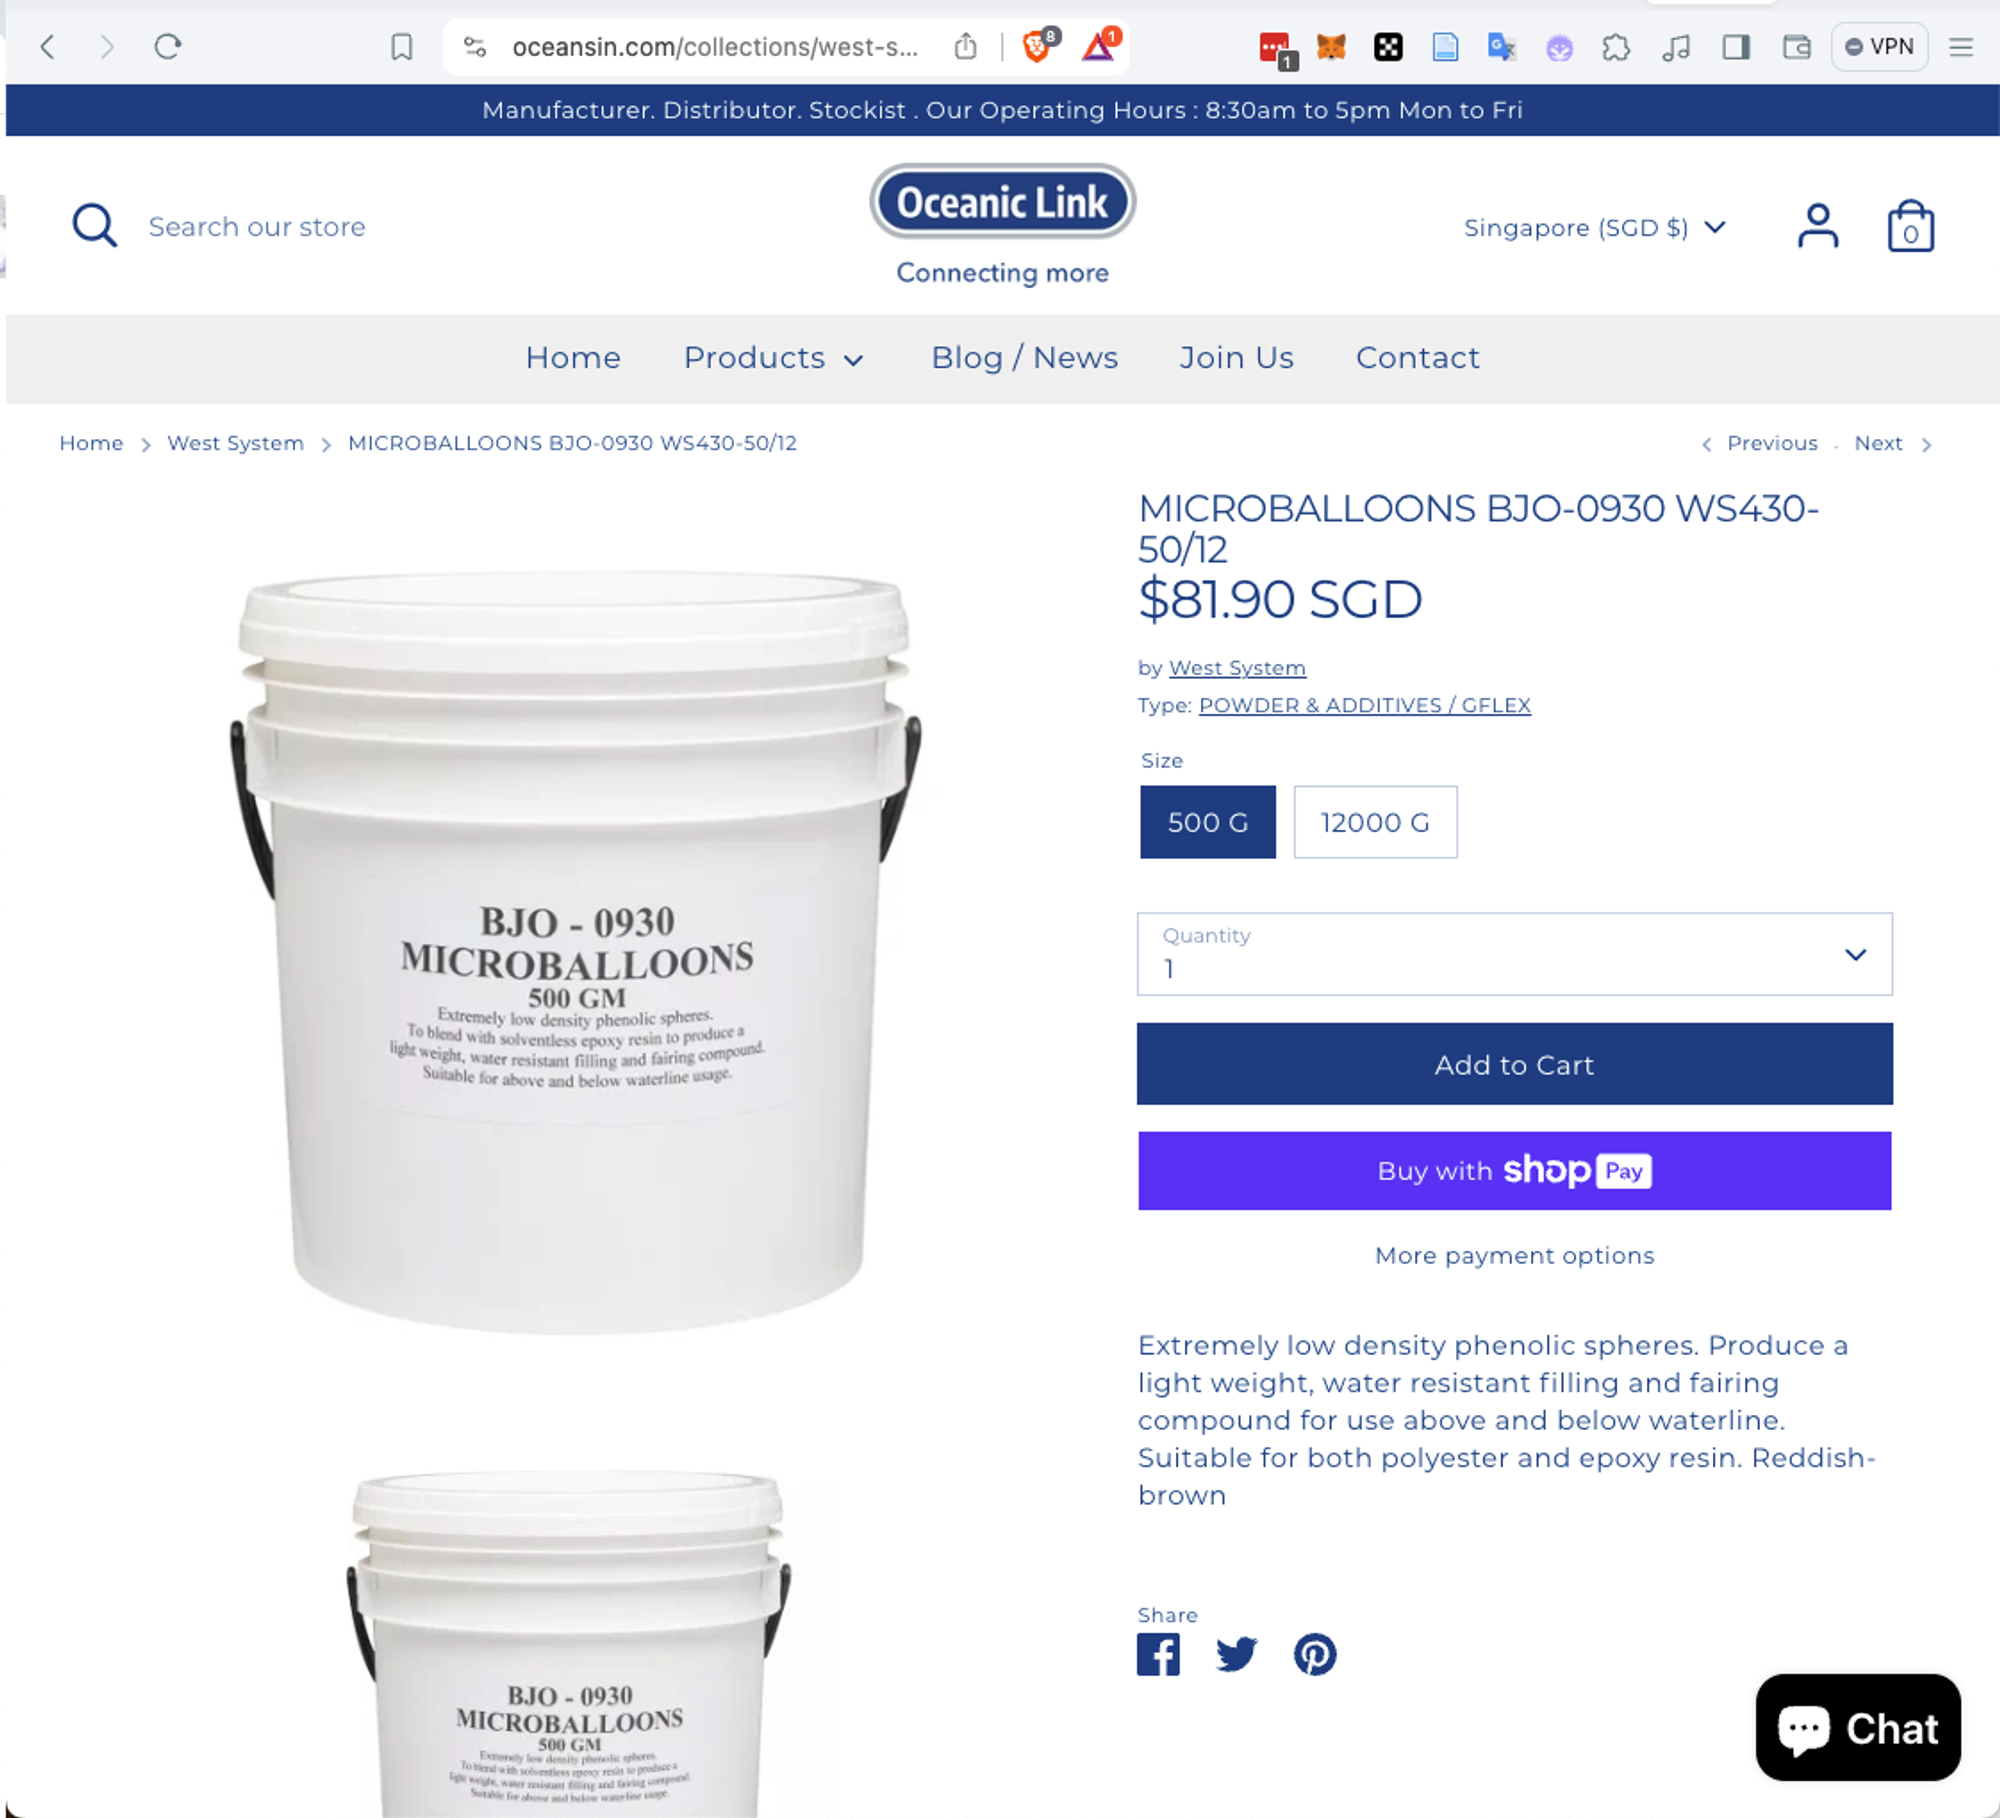
.
Terence Koh: Microballoons can be silica (glass) or brown phenolic. Both are fine as low density sandable fillers. The polyester repair putty you may already have is probably for structural applications, hence kicks quickly & difficult to apply across broad areas, and is doubly difficult to sand.